
Game:Bit
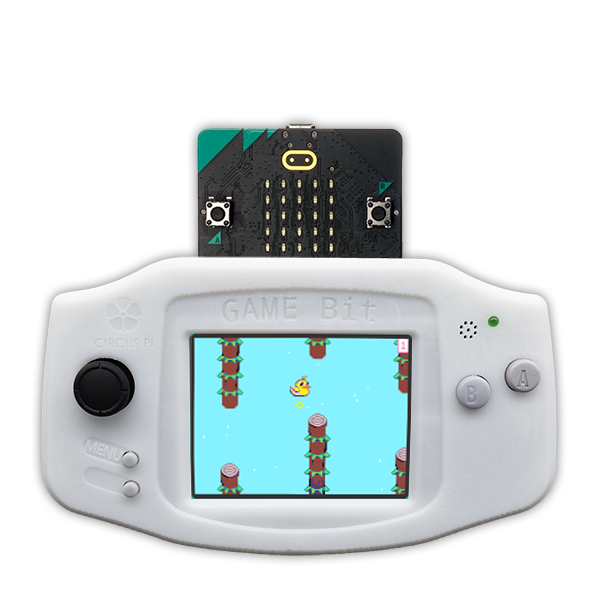
Game:Bit is a new product built on Microsoft Arcade games, giving micro:bit learners another option.
What this kit teaches
Quick start 123 to designing prompts and dialogue
Getting to know Game:Bit, getting the example programs, flashing a program, how to play, setting the hardware volume and screen brightness, and getting to know MakeCode Arcade.
Creating game elements to bringing game characters to life
Making backgrounds, adding sound effects, what variables are, how to use variables, creating another character, and overlapping characters.
Using winning moves to extended creative applications
Saving a game, loading a game, adjusting game complexity, adding attacks, what happens after a hit, and bullet variations.
Course outline
01 Quick start 123 (1 class period)
Learning objectives
1. Get to know Game:Bit 2. Get the example programs 3. Know how to flash a program 4. Know how to play 5. Set the hardware volume and screen brightness
Unit content
- Getting to know Game:Bit
- Getting the example programs
- Flashing a program
- How to play
- Setting the hardware volume and screen brightness
Related article: Game:Bit tutorial series (1): Quick start 123
02 Getting to know the interface (1 class period)
Learning objectives
1. Get to know the interface 2. Get to know the types of blocks 3. Find blocks quickly
Unit content
- Getting to know MakeCode Arcade
- The game simulator
- The block list
- The coding workspace
- Extra features
Related article: Game:Bit tutorial series (2): Getting to know the interface
03 Creating the character concept (1 class period)
Learning objectives
1. Learn to create characters (sprites) 2. Control how characters (sprites) move
Unit content
- Creating characters (sprites)
- Controlling your own character
Related article: Game:Bit tutorial series (3): Creating the character concept
04 Designing prompts and dialogue (1 class period)
Learning objectives
1. Learn to show messages with prompts 2. Interact with characters through dialogue
Unit content
- The prompt feature
- The dialogue feature
Related article: Game:Bit tutorial series (4): Designing prompts and dialogue
05 Creating game elements (1 class period)
Learning objectives
1. Design a background 2. Add sound effects
Unit content
- Making backgrounds
- Adding sound effects
Related article: Game:Bit tutorial series (5): Creating game elements
06 Setting up collision events (1 class period)
Learning objectives
1. Learn how to use variables 2. Learn to handle collision events
Unit content
- What variables are
- How to use variables
- Creating another character
- Overlapping characters
Related article: Game:Bit tutorial series (6): Setting up collision events
07 Deciding who wins (1 class period)
Learning objectives
1. Learn to keep score 2. Understand how to generate random values
Unit content
- Keeping score
- Random generation
- Adding sound
- Countdown timer
Related article: Game:Bit tutorial series (7): Deciding who wins
08 Bringing game characters to life (1 class period)
Learning objectives
1. Make characters move on their own 2. Add a health feature
Unit content
- Adding an enemy character
- The health feature
- Reducing life points
- Enemy mode
- Chasing the player
Related article: Game:Bit tutorial series (8): Bringing game characters to life
09 Using winning moves (1 class period)
Learning objectives
1. Become skilled at saving and loading game files 2. Give characters the ability to attack 3. Understand how to adjust the direction missiles are fired
Unit content
- Saving a game
- Loading a game
- Adjusting game complexity
- Adding attacks
- What happens after a hit
Related article: Game:Bit tutorial series (9): Using winning moves
10 Extended creative applications (1 class period)
Learning objectives
1. Learn more game design methods 2. Design other types of games
Unit content
- Bullet variations
- Trigger changes
- Jumping and crouching
- How to jump
- Changing the character’s walking animation
Related article: Game:Bit tutorial series (10): Extended creative applications
The course outline is compiled from existing CIRCUS Pi tutorial articles. The number of class periods is an estimate, and the actual schedule can be adjusted for each class.
Hardware specifications
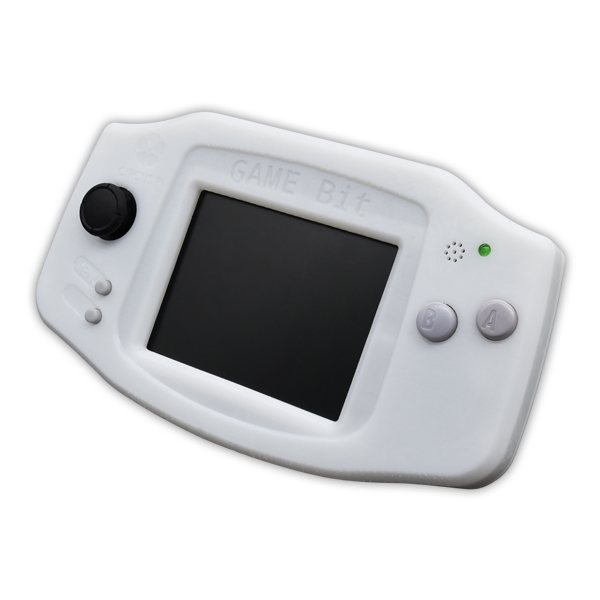
| Supported controller boards | micro:bit V2 series |
| Screen size | 2.8-inch color TFT LCD, 320 x 200 |
| Buttons | Joystick, A button, B button, menu |
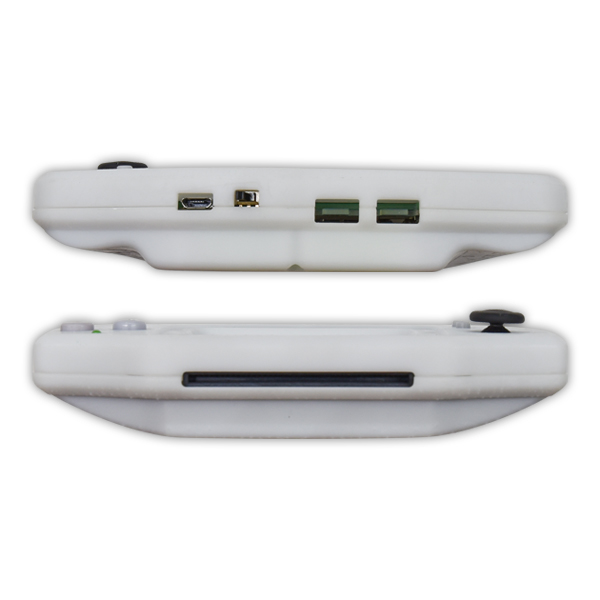
| Expansion slot | Yes (connector socket) |
| Built-in battery capacity | 1000 mAh |
| Charging | Yes (5 V Micro USB) |
| Dimensions | 139.5 x 81 x 31 mm |
Product features
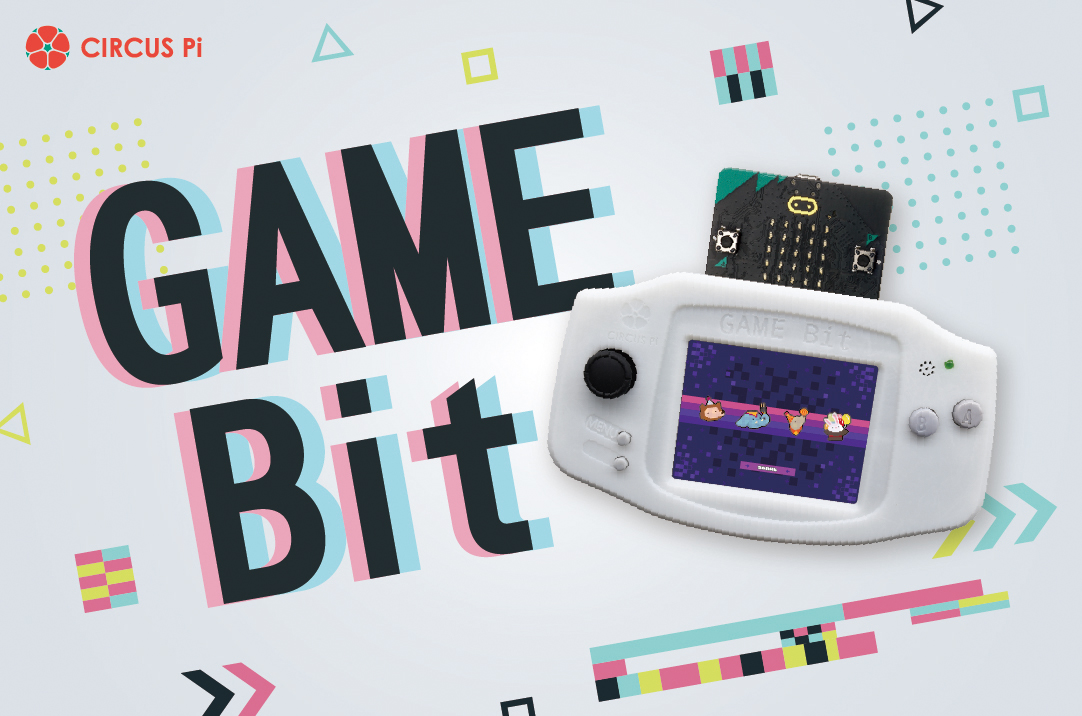
Game:Bit is a new product built on Microsoft Arcade games, giving micro:bit learners a different option.
Instead of the usual approach of building projects with an expansion board and sensors, it has learners create games, encouraging a different way of thinking about programming.
From how scoring works, to character actions, to matching backgrounds and music, to judging a win or loss and ending the game, the creator makes every decision about the game.
♠ Design games by dragging blocks
With the familiar MakeCode Blockly style of programming, anyone can build their own games and share them with friends. If you already use micro:bit and are comfortable with the MakeCode workflow, you will pick up Microsoft Arcade games quickly.
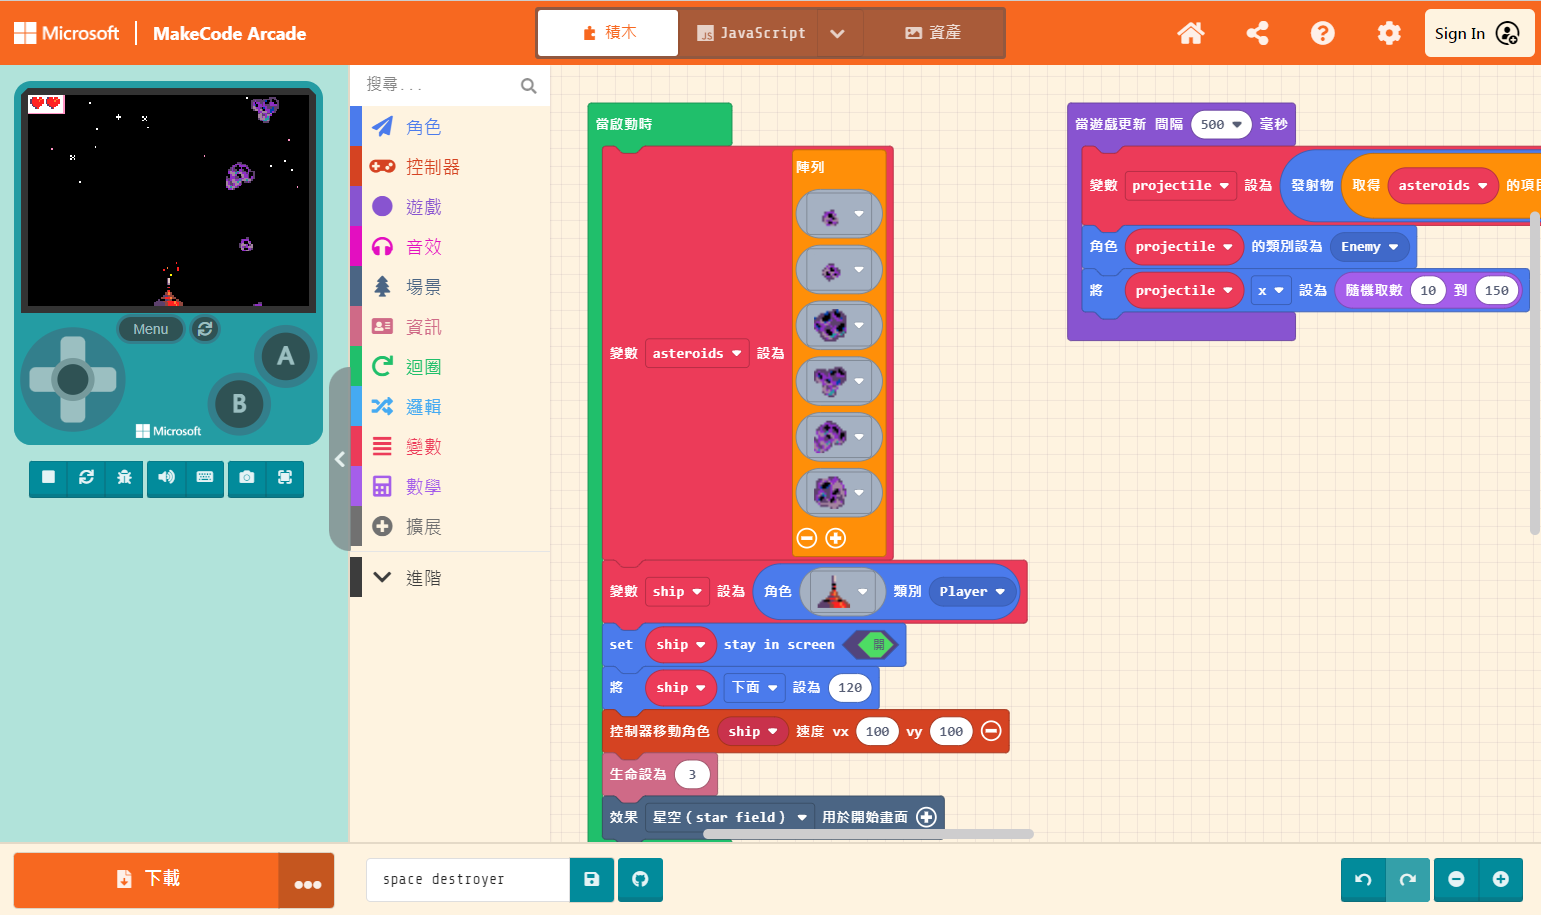
♣ How do I get started?
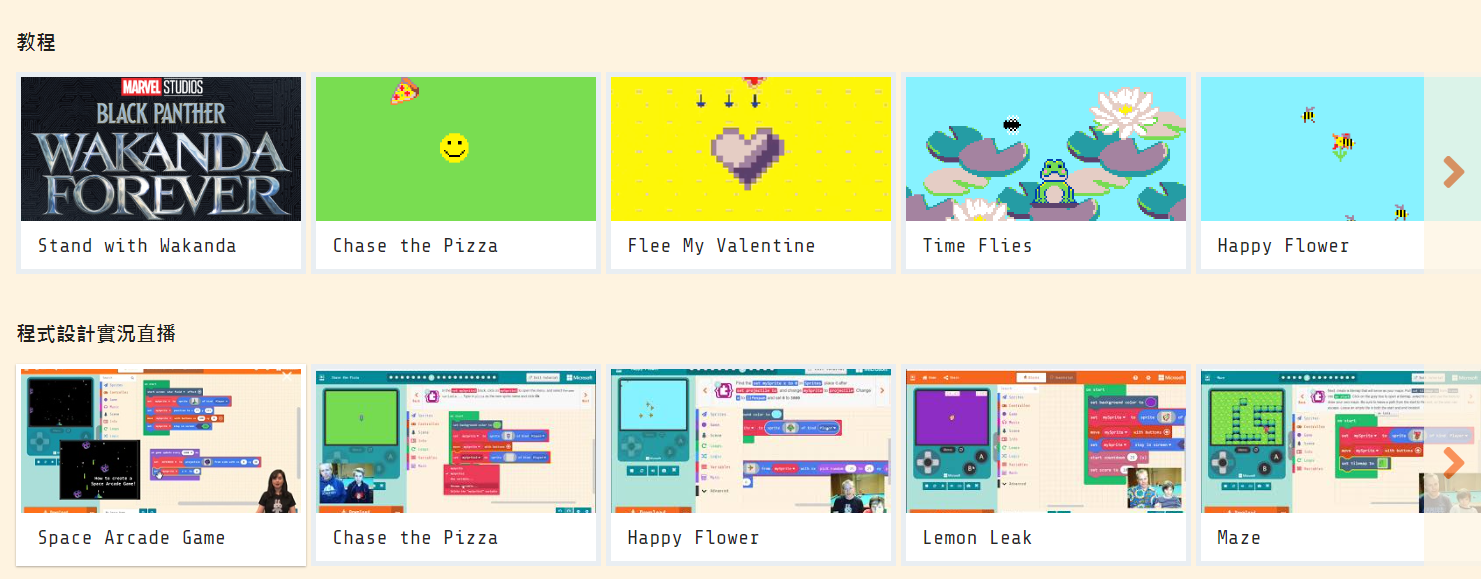
MakeCode Arcade has extensive tutorials and many example games. Pick the example closest to the game experience you have in mind, whether it is a popular side-scrolling game or an RPG adventure, and start building your own game.
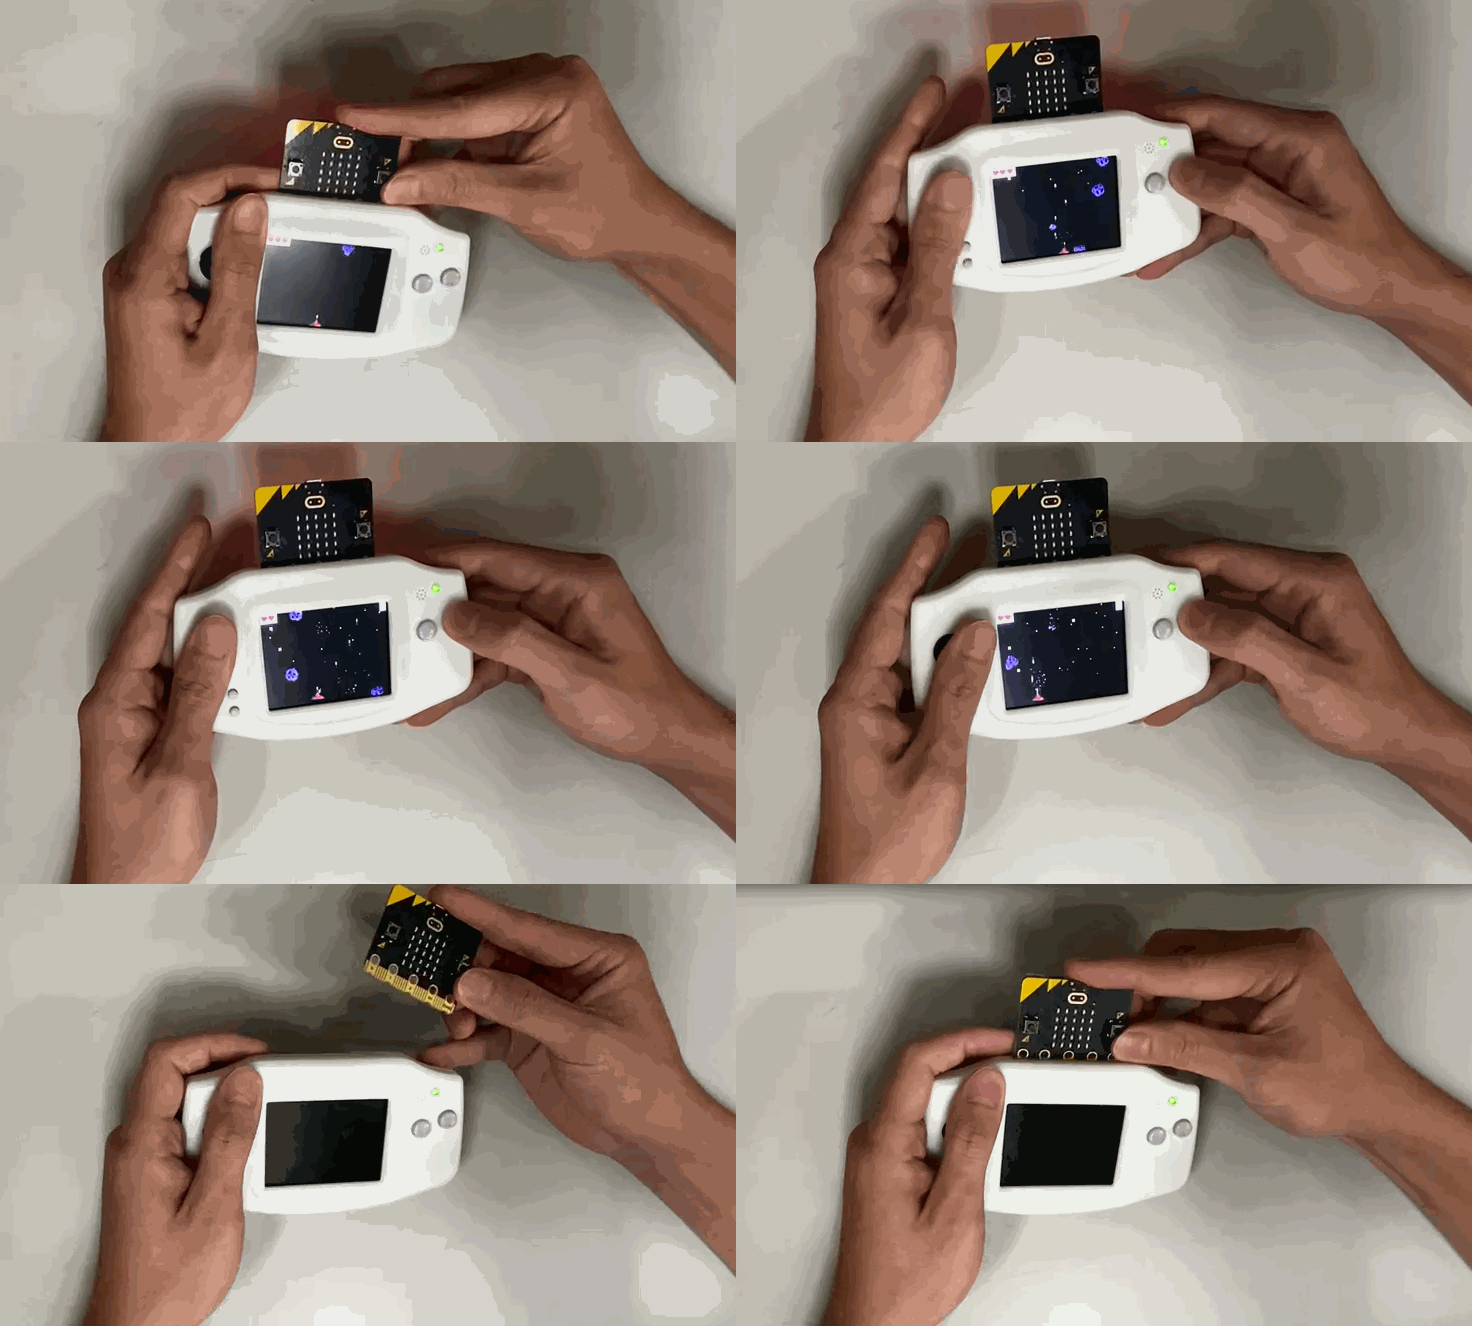
♥ Plug in a micro:bit and it becomes a game console
After you download your finished game and flash it to the micro:bit, plug it into the Game:Bit expansion board and start playing.
FAQ
How do I install the micro:bit? Can I use both the v1 and v2 micro:bit?
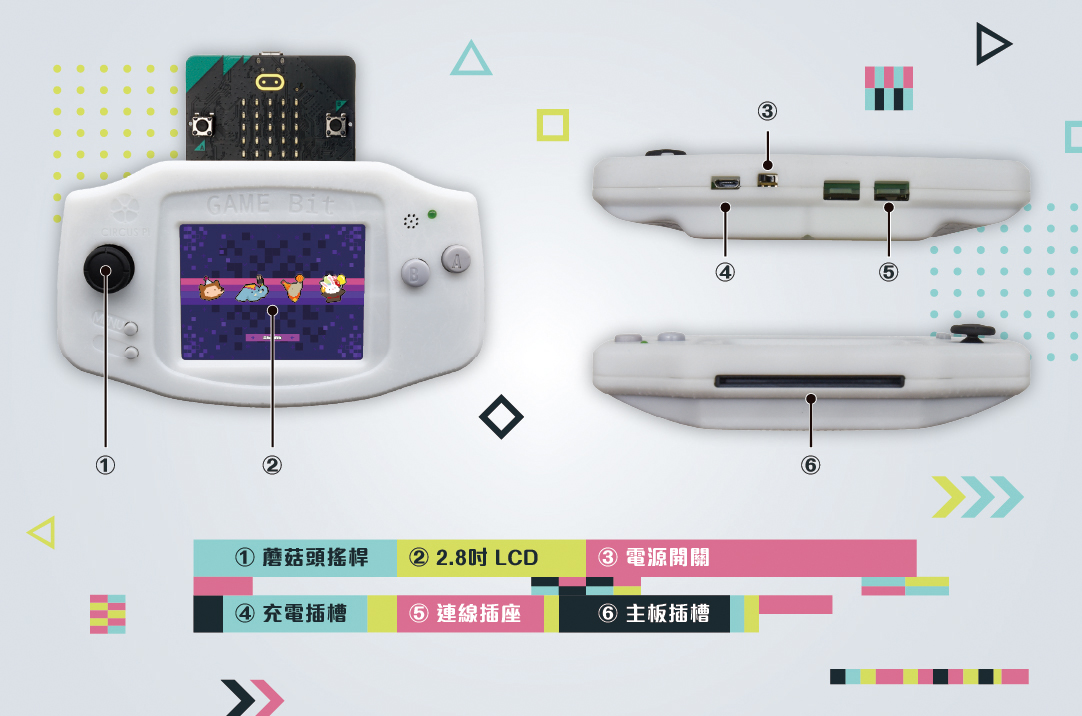
1. Install the micro:bit as shown on the paper card: plug it into the controller board slot numbered (6) in the diagram, with the front of the micro:bit facing the same side as the Game:Bit screen.
2. Only the v2 micro:bit is supported at this time.
Does Game:Bit need to be plugged in to work? What cable does it use?
1. Game:Bit has a built-in lithium battery, so it does not need to stay plugged in. When the battery runs out, use the included Micro USB cable: plug one end into the charging port numbered (4) in the diagram, and connect the other end to a power bank or a 5 V phone charger.
2. The light is red while charging and turns green when fully charged. The charging port is for charging only.
Can I connect other boards, such as an ESP32 or Pi Pico?
Game:Bit is designed to the Microsoft Arcade games specification, so only micro:bit v2 is supported at this time.
Where is the finished game stored, and how do I put it there?
1. The game is downloaded to the micro:bit v2. Game:Bit works like an expansion board.
2. The steps are the same as downloading any program to a micro:bit: connect the Micro USB cable to the micro:bit and click download.
Contact us
Your message goes straight to our team, and we usually reply within one business day.
- 01Questions? Send us a message or add us on LINE.
- 02Quotes and orders, including international shipping
- 03Teacher training and professional development
Scan with your phone to add us on LINE.
Add us on LINE