
MbitBot
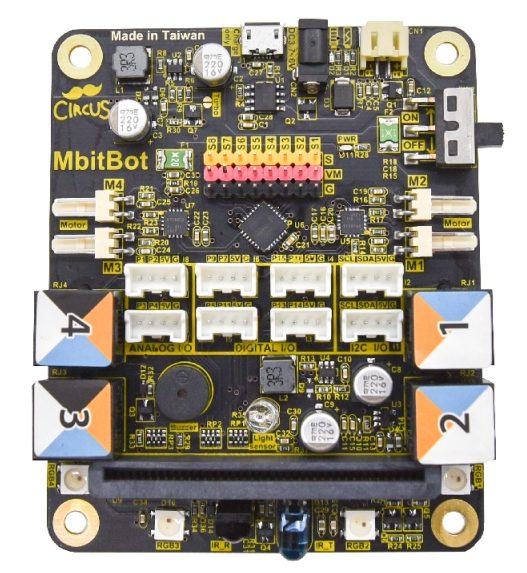
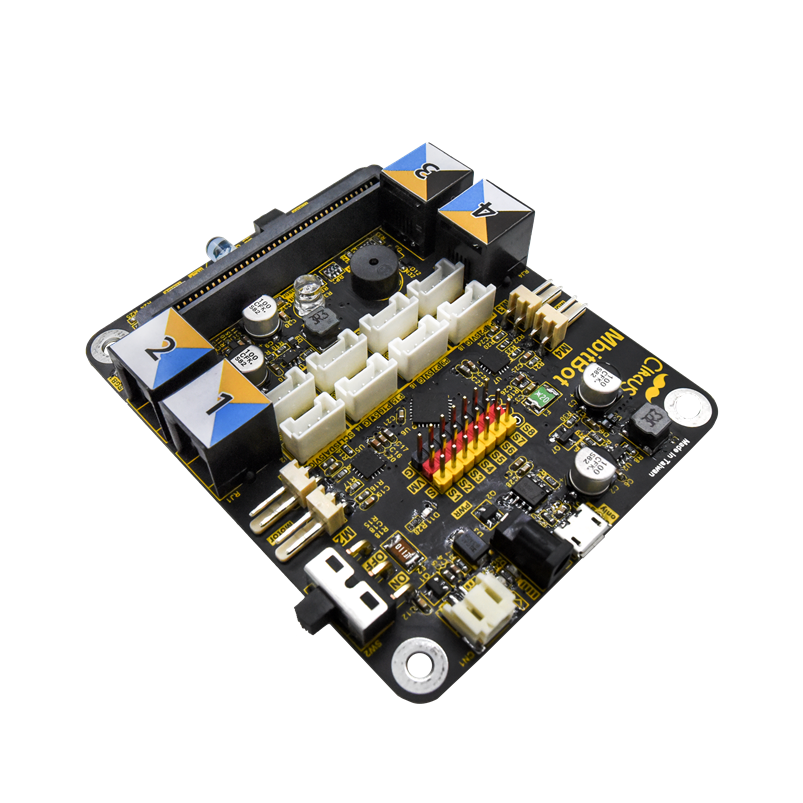
MbitBot has four ports compatible with the Makeblock RJ25 interface, so you can connect Makeblock peripheral sensor modules directly, with no need to buy additional sensors.
What this kit teaches
Make motors move with micro:bit!
Introduction to making the micro:bit move with MbitBot, installing an extension package in MakeCode, operating servo motors with micro:bit + MbitBot, operating DC motors with micro:bit + MbitBot, extended learning with micro:bit and MbitBot, and Coding Time.
The micro:bit alarm: “Don’t eat my snacks”
Coding Time, getting into the topic, assembling and calibrating the Q-Legged Beast, tools, getting started, and calibration.
Q-Legged Beast: Programming
micro:bit X Q-Legged Beast programming, action flow, program explanation, and uploading the program.
Course outline
01 Make motors move with micro:bit! (1 class period)
Unit content
- Introduction to making the micro:bit move with MbitBot
- Installing an extension package in MakeCode
- Operating servo motors with micro:bit + MbitBot
- Operating DC motors with micro:bit + MbitBot
- Extended learning with micro:bit and MbitBot
Related article: Fun with MbitBot, Unit 1: Make motors move with micro:bit!
02 Spin up dazzling rainbow neon lights with micro:bit! (1 class period)
Unit content
- Coding Time
- One more thing to learn
Related article: Fun with MbitBot, Unit 2: Spin up dazzling rainbow neon lights with micro:bit!
03 The micro:bit alarm: “Don’t eat my snacks” (1 class period)
Unit content
- Coding Time
- Getting into the topic
Related article: Fun with MbitBot, Unit 3: The micro:bit alarm “Don’t eat my snacks”
04 Q-Legged Beast: Assembly and calibration (1 class period)
Unit content
- Assembling and calibrating the Q-Legged Beast
- Tools
- Getting started
- Calibration
- Verification
Related article: Creating the Q-Legged Beast with micro:bit X MbitBot (Part 1)
05 Q-Legged Beast: Programming (1 class period)
Unit content
- micro:bit X Q-Legged Beast programming
- Action flow
- Program explanation
- Uploading the program
Related article: Creating the Q-Legged Beast with micro:bit X MbitBot (Part 2)
The course outline is compiled from existing CIRCUS Pi tutorial articles. The number of class periods is an estimate, and the actual schedule can be adjusted for each class.
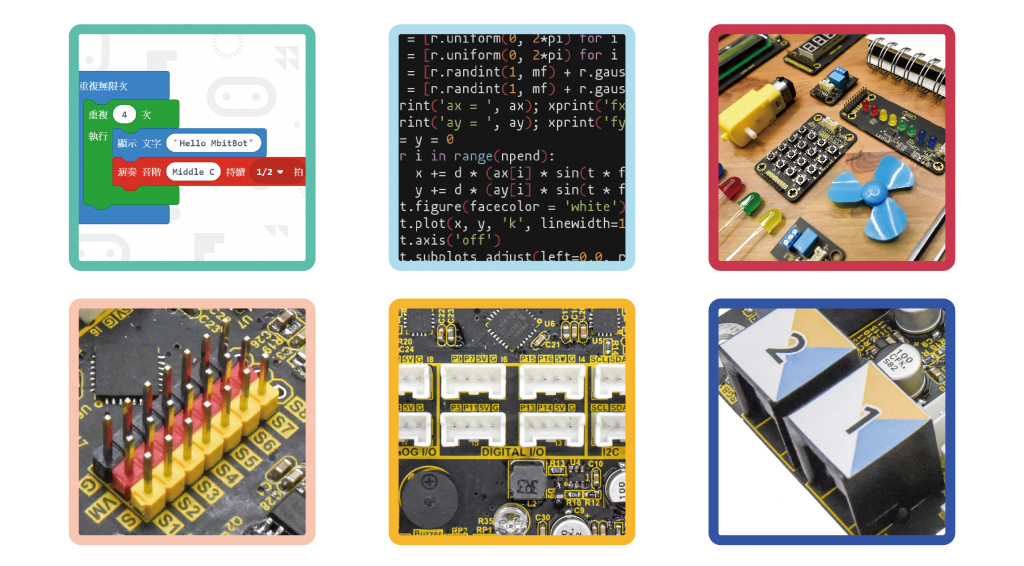

MbitBot: an expansion board built to solve micro:bit’s limits
When you use a micro:bit,
you will find its built-in features very handy, but when you want to expand it you often run into these problems:
1. Not enough power supply.
2. Most pins are already taken by built-in features.
Although the micro:bit is a very useful learning tool, when it comes to extending creative ideas,
it is hard to build more complex, multifunction projects. MbitBot was created to solve this problem.
Play with mBot using micro:bit
Add Arduino sensors for even more variety
A dedicated expansion board built to connect mBot and micro:bit.
Replace the mBot’s main board with the MbitBot and connect a micro:bit,
and you can keep using your original Makeblock sensors and also add Arduino modules.
Turbo mode, which you control from your program, makes it easier to climb slopes and drive in a straight line at speed.
Features
◦ The same mounting holes as the mCore, plus more DC motor and servo motor ports, so your ideas are not limited.
◦ In Turbo mode, the motors get near-maximum power, making slope climbing and straight-line sprints easy.
◦ Four color LEDs on the expansion board can be controlled by a program to make the car more colorful.


MbitBot also takes care of the power limitation.


Build more themed projects


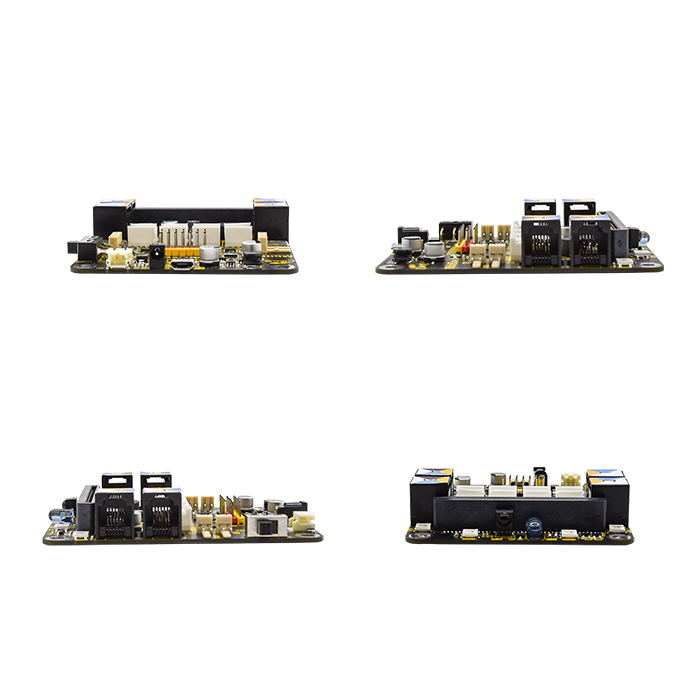
MbitBot has four ports compatible with the Makeblock RJ25 interface, so you can connect Makeblock peripheral sensor modules,
and use the sensors you already own directly, with no need to buy additional ones.
If you do not have MakeBlock sensors, it also provides 2 ANALOG I/O ports,
4 DIGITAL I/O ports, and 2 I2C I/O ports, so connecting common Arduino peripheral sensors is not a problem.


What can you do with the expansion board alone, without adding modules?


Tutorial videos
MbitBot introduction: Connect your micro:bit to more possibilities (1:01)
Fun with MbitBot: Make servo motors move with micro:bit (1:01)
Fun with MbitBot: Spin up rainbow neon lights with micro:bit (2:16)
Creating the Q-Legged Beast with micro:bit and MbitBot: Assembly (6:13)
Creating the Q-Legged Beast with micro:bit and MbitBot: Calibration (2:57)
Creating the Q-Legged Beast with micro:bit and MbitBot: Programming (1:49)
Contact us
Your message goes straight to our team, and we usually reply within one business day.
- 01Questions? Send us a message or add us on LINE.
- 02Quotes and orders, including international shipping
- 03Teacher training and professional development

Scan with your phone to add us on LINE.
Add us on LINE